With the building raised and dome in place it was time to construct the telescope pier. Rather than installing a pier and trying to fit a building around it, I decided it would be better to fit the pier to the building. I looked at manufactured piers and had a good idea of what I needed. A steal pipe of some kind with a mounting plate that would accept the Meade Super Wedge would do nicely. The bottom of the pipe would have to seat on the four anchor bolts in the concrete footing. The mounting plate should allow leveling on four threaded bolts as well as some azimuth adjustment. The features should allow precise leveling and polar alignment with the Super Wedge.
Standing inside the building's 10x10 foot space I looked up at the dome some 8 feet above the floor. Clearly I would need a platform to work at the telescope. I wondered how high to set the wedge for a comfortable standing position around the telescope? The telescope had to be somewhere above the 8 foot wall plus the height of the dome ring. I found the easiest way to answer the question was to setup the LX200 with Super Wedge on its tripod then raise and lower the tripod legs to arrive at a comfortable working height. After a few trials I arrived at my preferred telescope height. I then measured the height from ground level to the bottom of the Super Wedge. This measure would determine where the platform would be below the telescope.
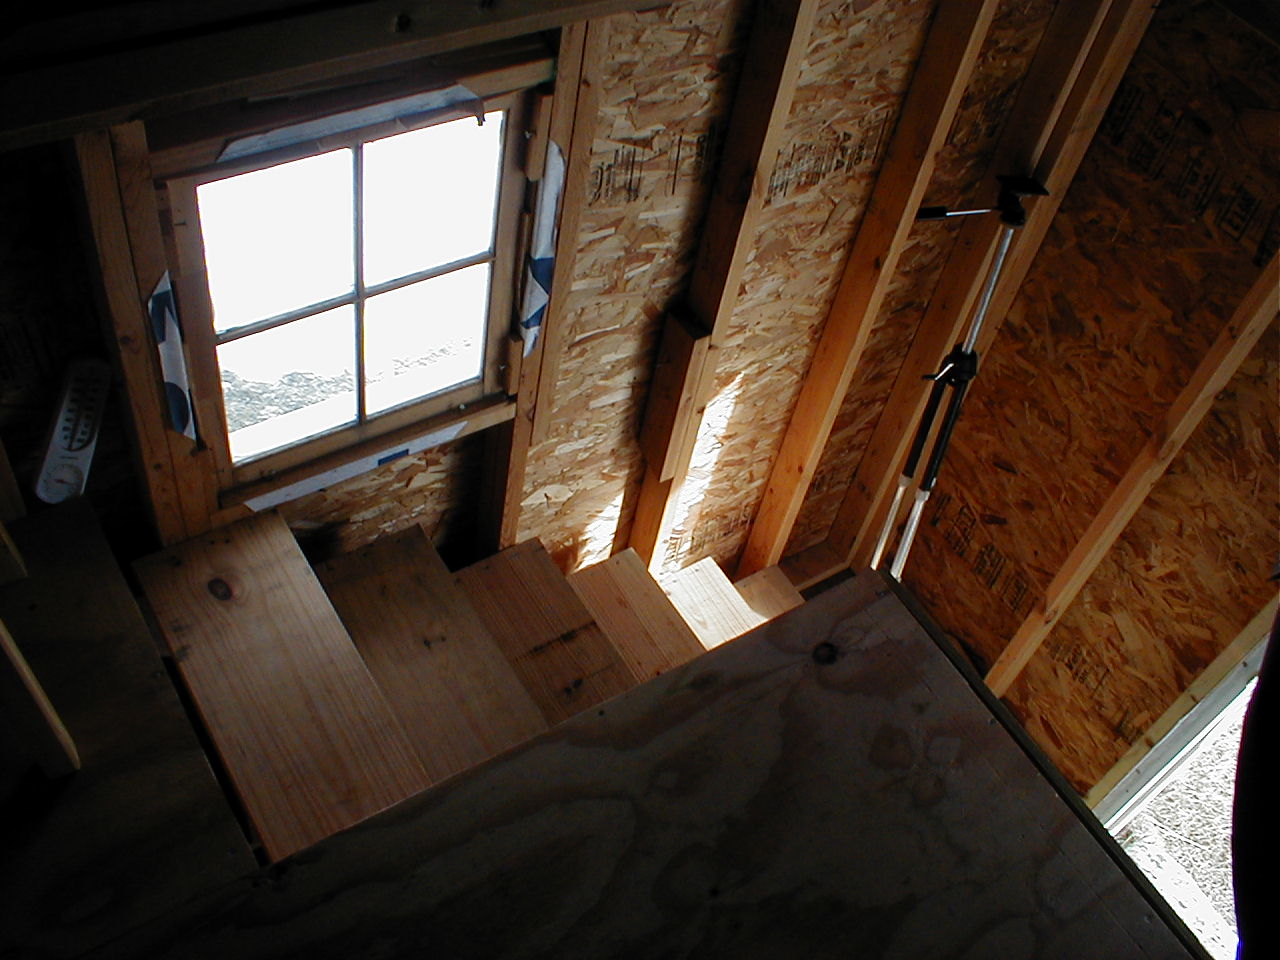
The next measure was aimed at positioning the LX200 at an optimal height with respect to the dome. Here I laid a 2x4 inch board across the diameter of the dome ring (bottom of the dome slot). The 2x4 gave me a horizontal line above which the scope could spy the horizon. After many trips up a step ladder I decided to make the base of the Super Wedge rest just below the dome slot. The reach of the fork arms readily positioned the Optical Tube Assembly (OTA) where I wanted it. With these measurements I framed the platform allowing for a short stairway on the north side (to right of the entrance). I didn't nail the frame permanently just yet. I set a couple floor joist near the pier and covered them with plywood boards. Then I climbed up and stood on the plywood, open the dome and took it all in. As luck would have it, the height felt good. My floor was right where I'd hoped. I nailed home the floor joists but did not install the floor at that stage. Instead I gathered more measurements for the total height of the telescope pier.
I had discovered several pier designs on the Internet. With my measurements and hand sketches of what I wanted I visited a family friend and professional machinist named Bryan Healy. Bryan was eager to help out. He visited the observatory to check and double check the measurements. The pier would run close to 10 feet from the concrete footing anchors bolts to the base of the Super Wedge. It would also include azimuth and elevation adjustments to bring the telescope to plumb. Bryan recommended a heavy gauge steal pipe ~1/2 inch thick by 7 inches in diameter. He asked questions that I never dreamed of. Every detail was discussed including telescope alignment, equatorial mount design and how the Meade Super Wedge worked. His mind was actively aligning a telescope while we talked. After a more questions and notes he concluded, "Okay I see what we need", and he loaded the Super Wedge into his pickup and said he’d be in touch. Bryan worked after hours and I was able to watch over his shoulder as he worked. He custom fabricated a based plate with stabilizing fins and a beautiful adjustable head plate to adapt to the Meade Super Wedge. I watched powerful metal saws and lathes, operated by a true craftsman, doing their work. When the pier was complete it weighed ~350-400 pounds.
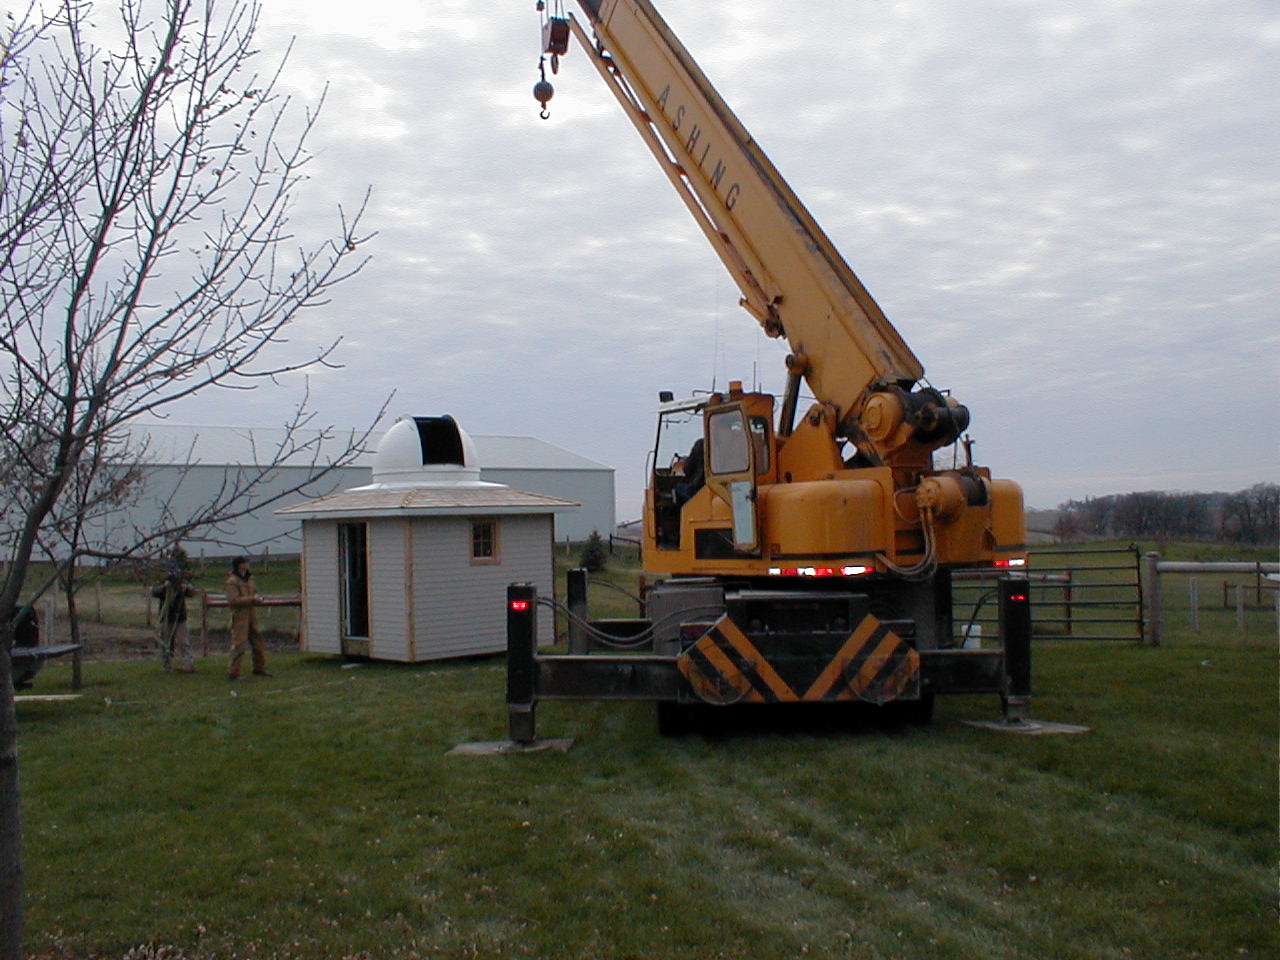
Now we had to get it into the observatory! The size, weight and length of the pier left one and only one option for installation. We had to lower it through the dome slot to its resting place. Bryan had an investment at this point and suggested turning to another professional named Larry Ashing to install the pier.
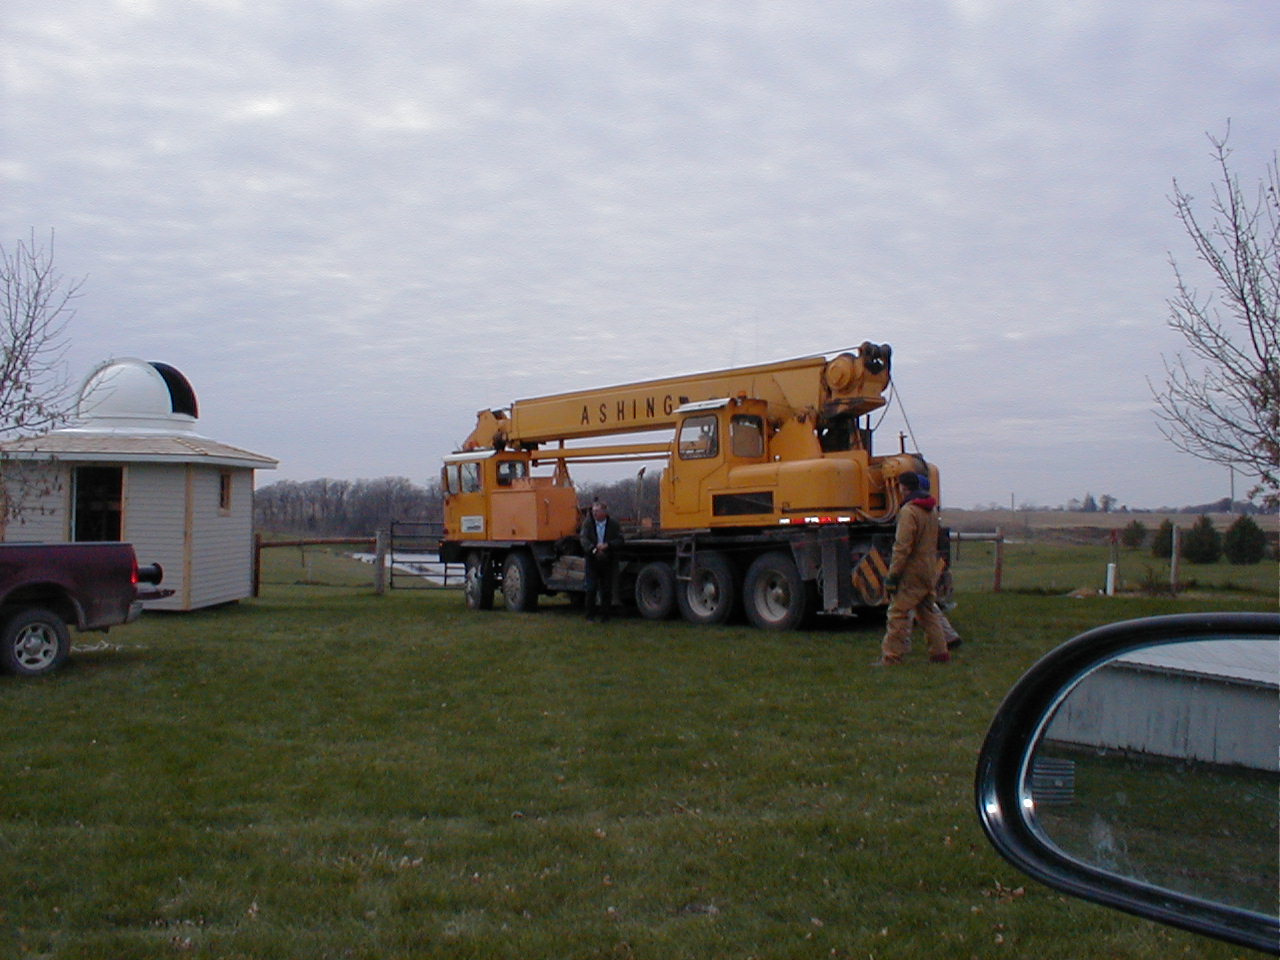
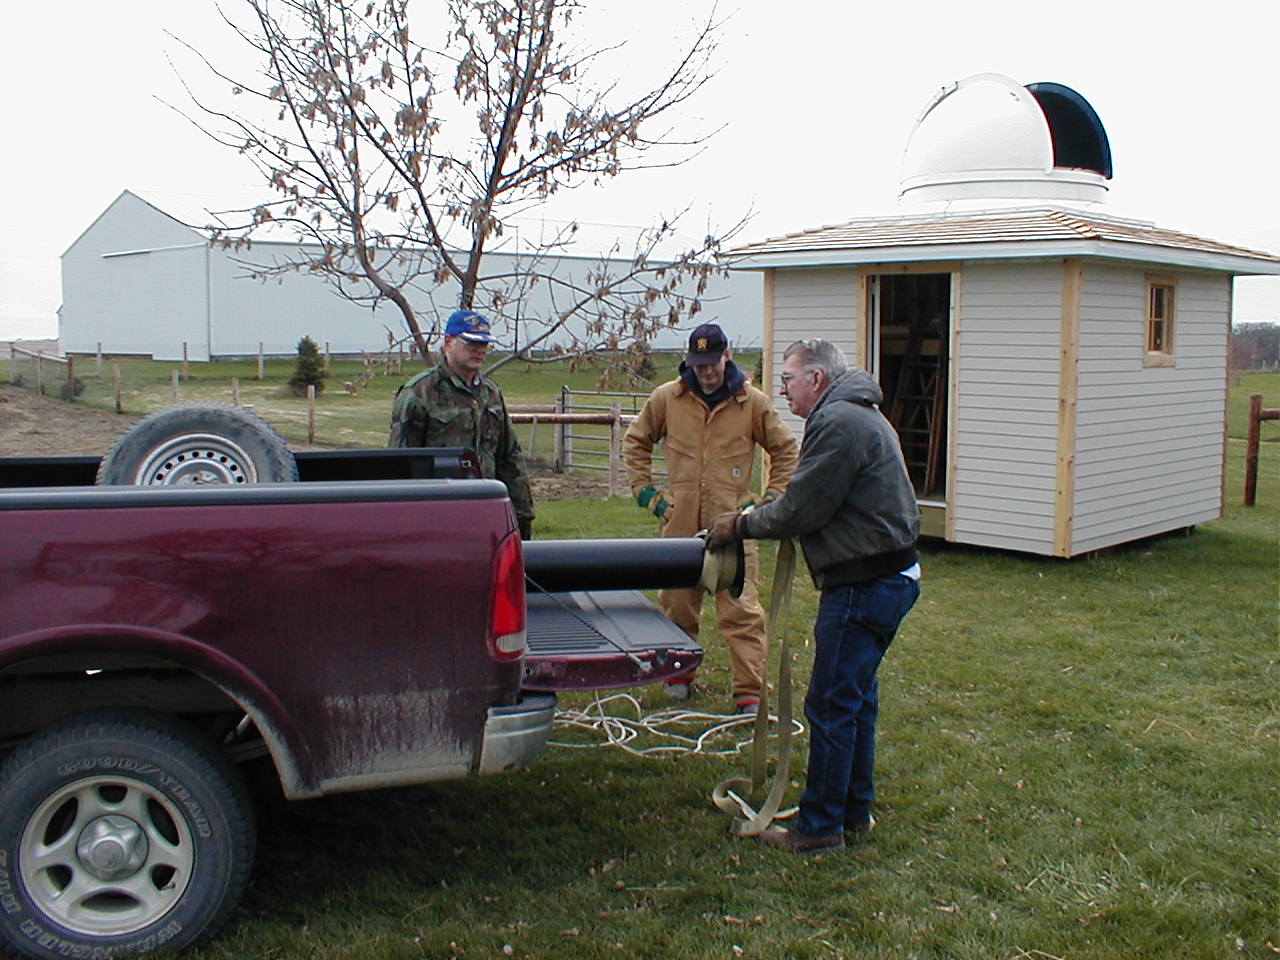
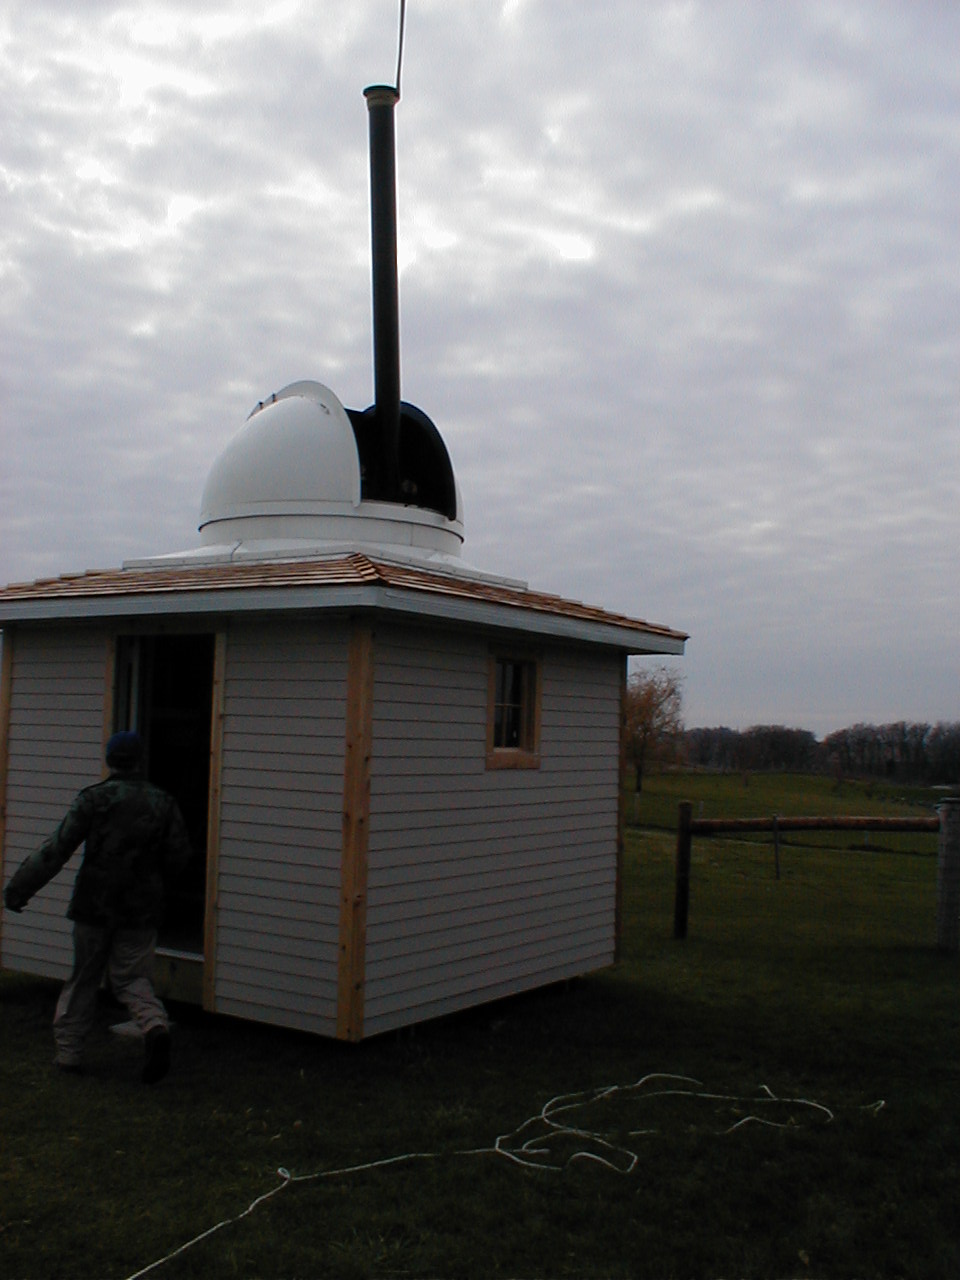
The big day arrived on November 15th. I met Bryan at his shop to load the pier into my pickup. We strapped it down and headed to my place. A short while later, Larry Ashing pulled into my driveway with a monster truck. He stopped at the edge of the grass and asked if I'd mind tire ruts in the grass. "Heck no" was my answer and activities began. We opened the dome and rotated it to face the north. Larry setup his crane nearby and lower the crane's boom and cable hook above the pickup. The three of us discussed the plan and got to work. I would be inside the observatory. Bryan would provide hand signals to Larry who of course operated the crane.
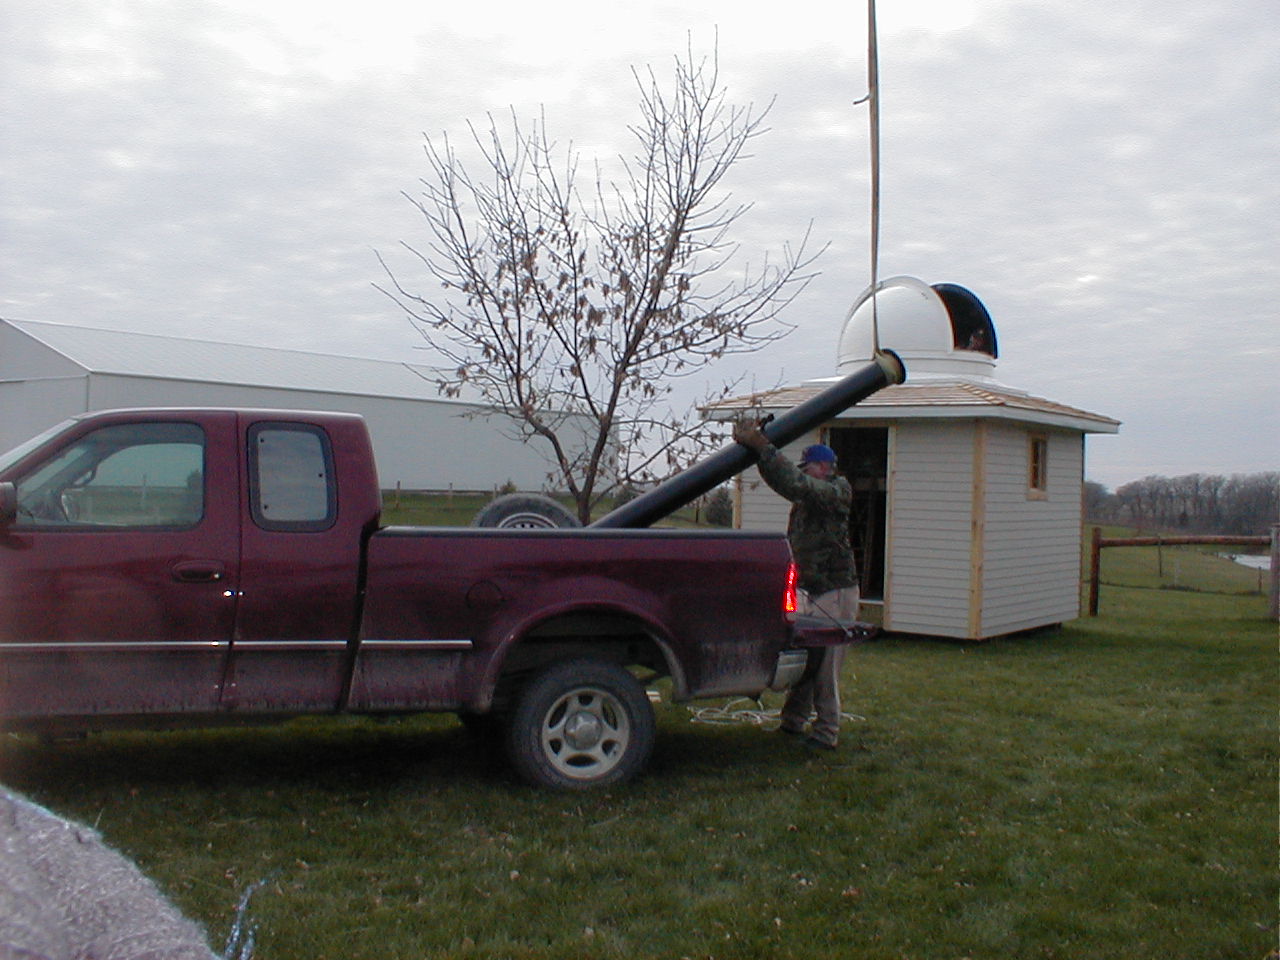
Larry operates a crane with smooth precision. The pier rose smoothly into the air. Before I expected it, all 350 pounds of steal was hanging through the dome slot like a missile in a silo. Smooth as silk.
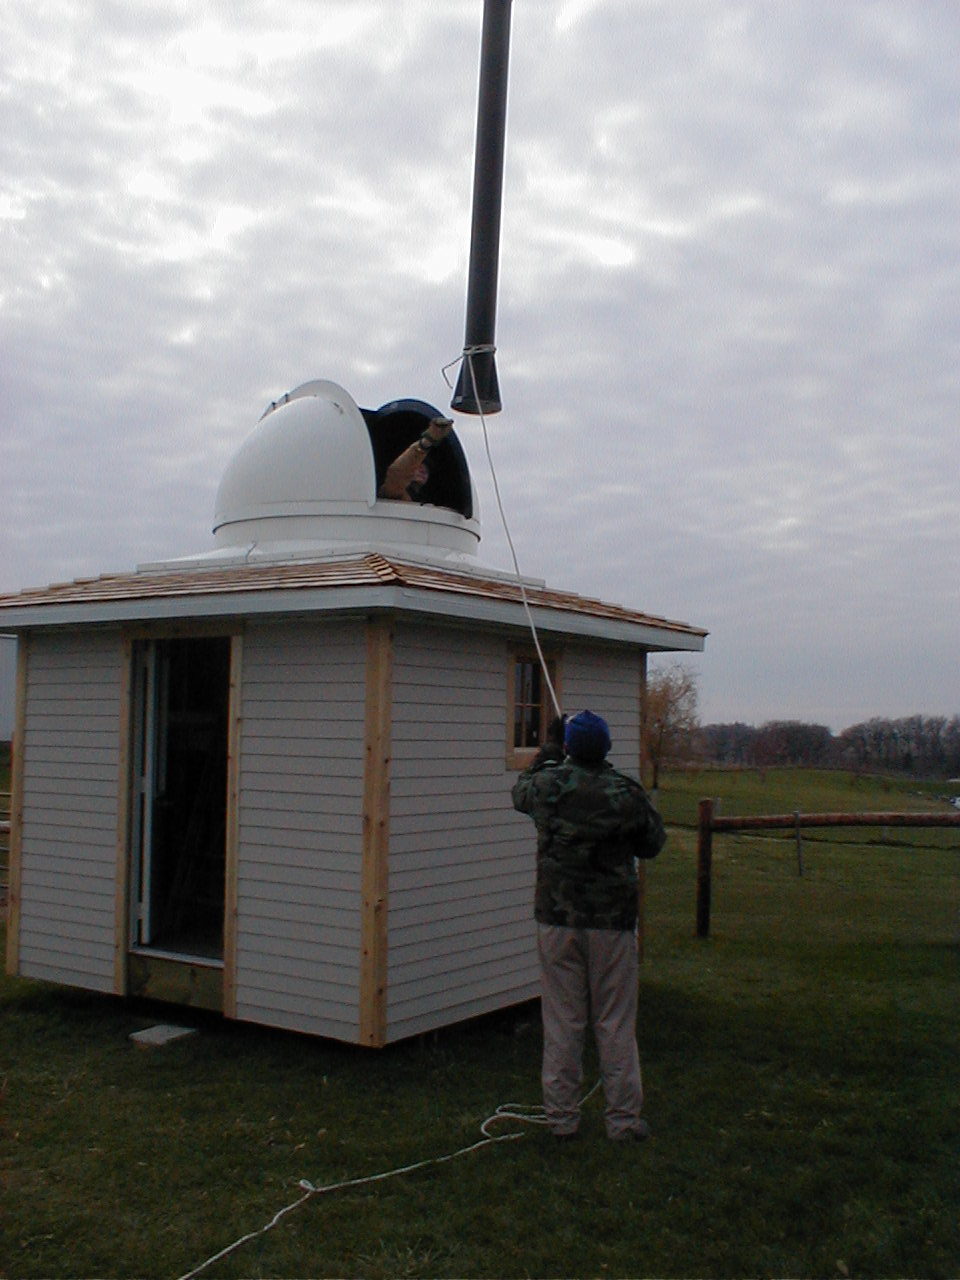
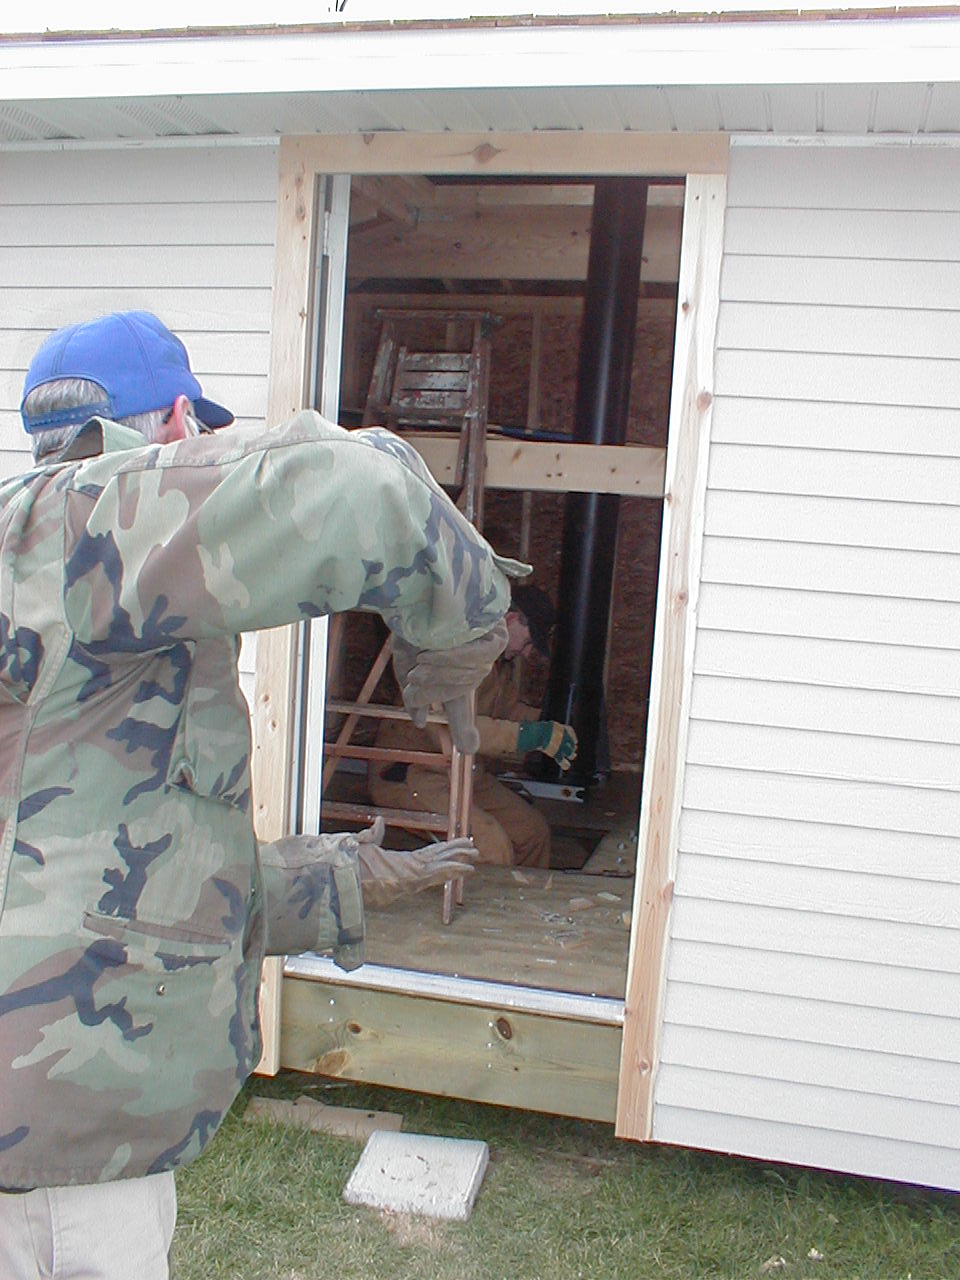
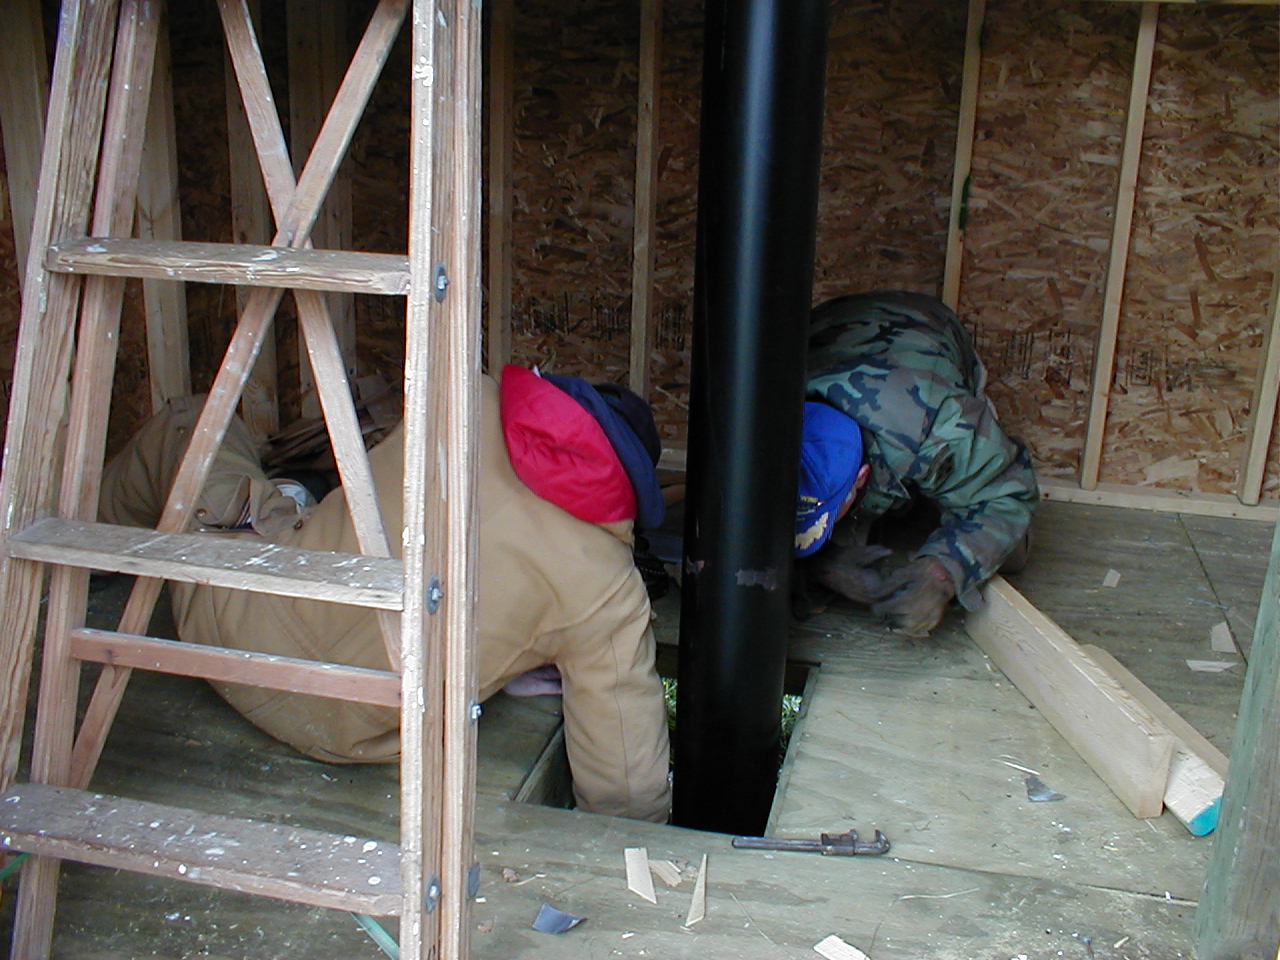
Bryan positioned himself outside the doorway where he could see me and give Larry hand signals as the pier approached its target. This part of the installation simply amazed me. Larry couldn't see me or where the pier was going inside the building. Bryan's hand signals brought pier straight down through the dome, past the floor joist and through the hole in the base floor to within a 1/4 inch of the anchor bolt heads. I said, "Hold up a second" and instantly the pier stopped its decent. Giving the base plate a slight push to align it to the bolts I said, "Okay" and an instant later "thump, thump" it was home!
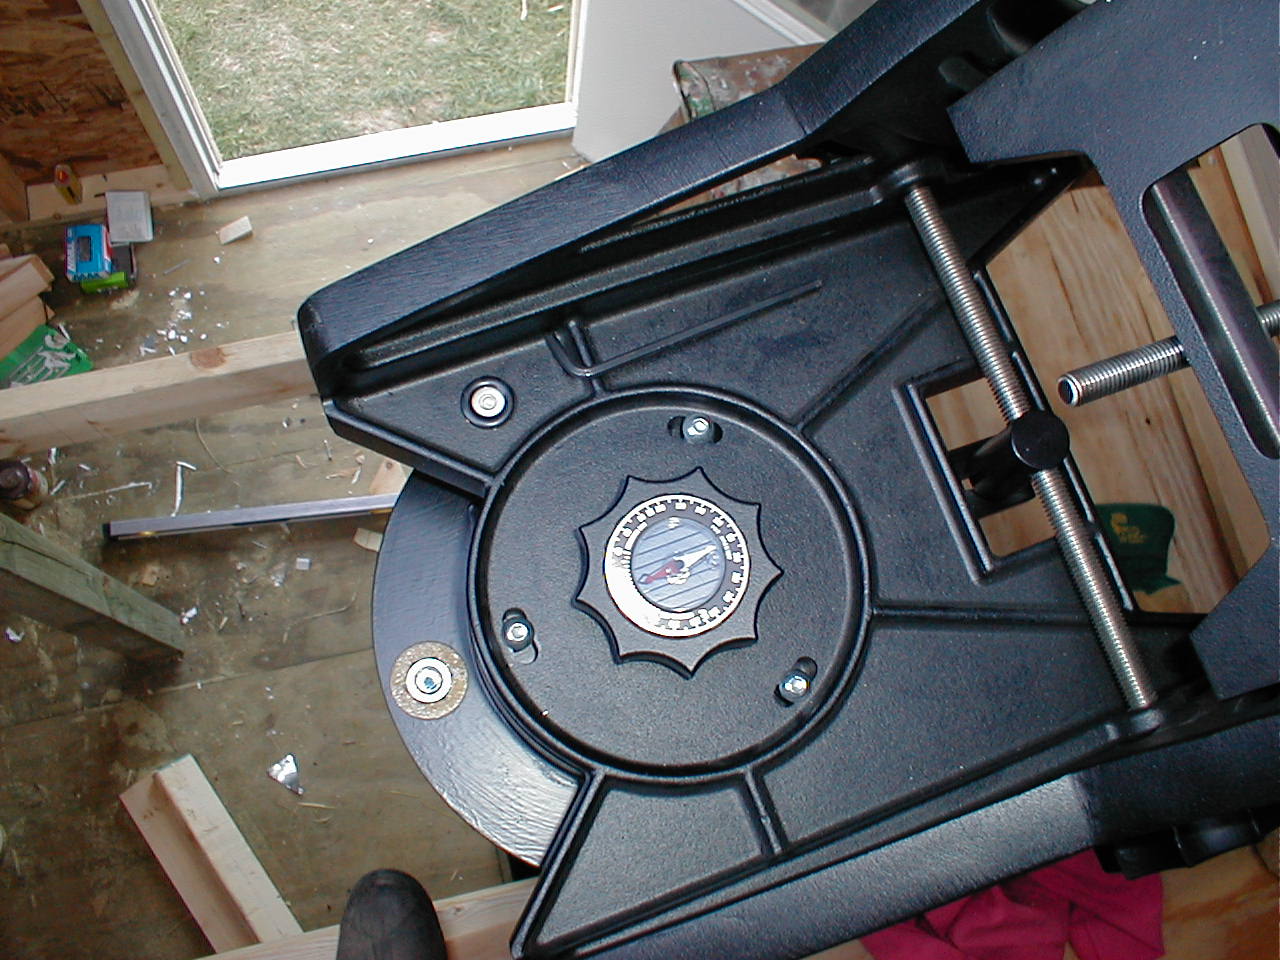
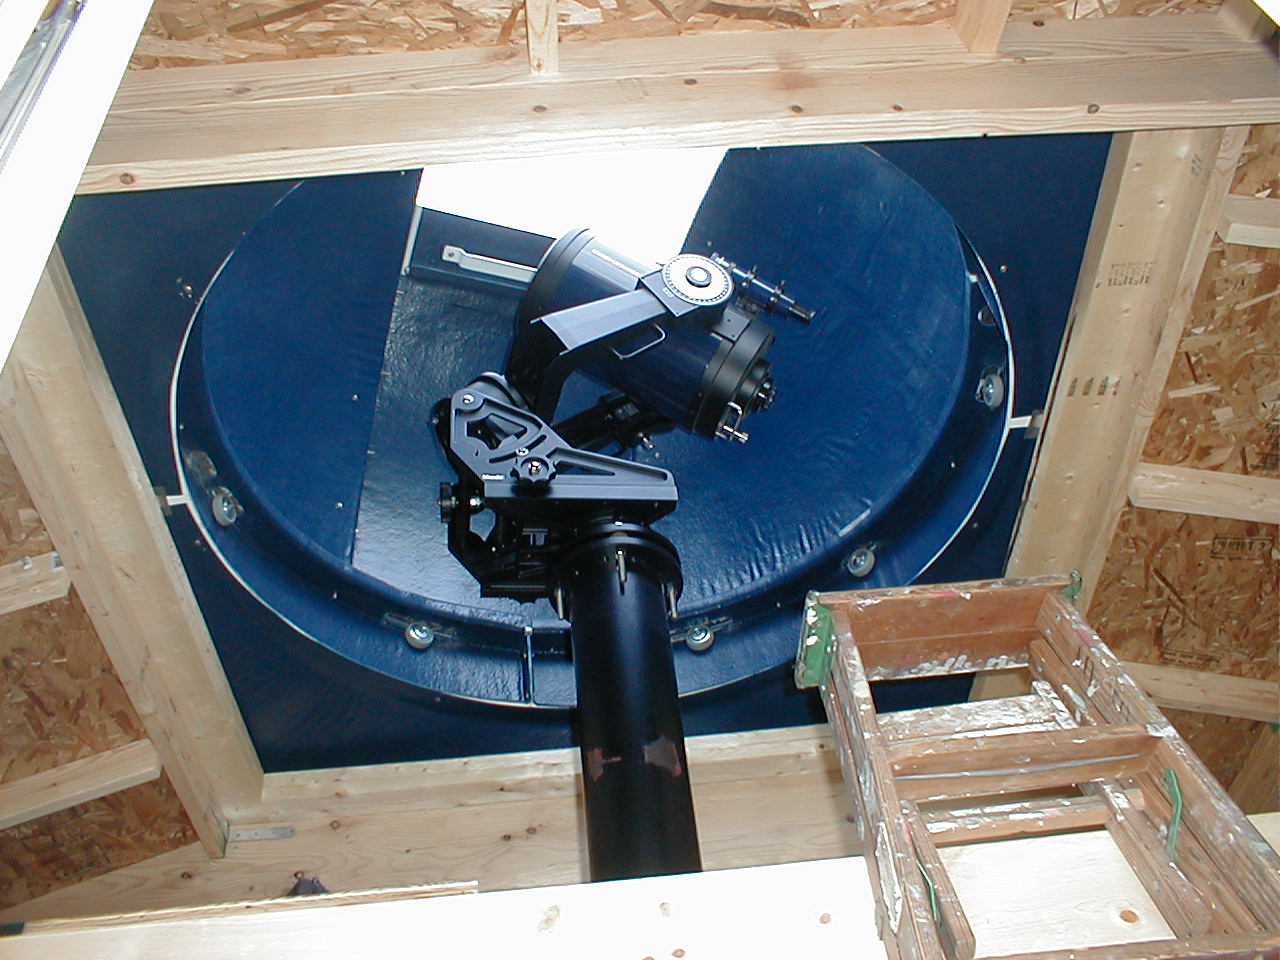
Four metal nuts were threaded onto the anchor bolts prior to setting the pier. These allowed the pier to be adjusted vertically but cinching the base plate up or down. Once satisfied with the vertical position, Bryan and I locked it down with four more nuts on top of the pier base plate. Next we attached the mounting plate to top of the pier using four threaded bolts with nuts. Then the Super Wedge attached readily to the mounting plate.
The threaded bolts at the mounting plate allowed fine leveling of the Super Wedge. The mounting plate could swing in azimuth a few degrees as well.

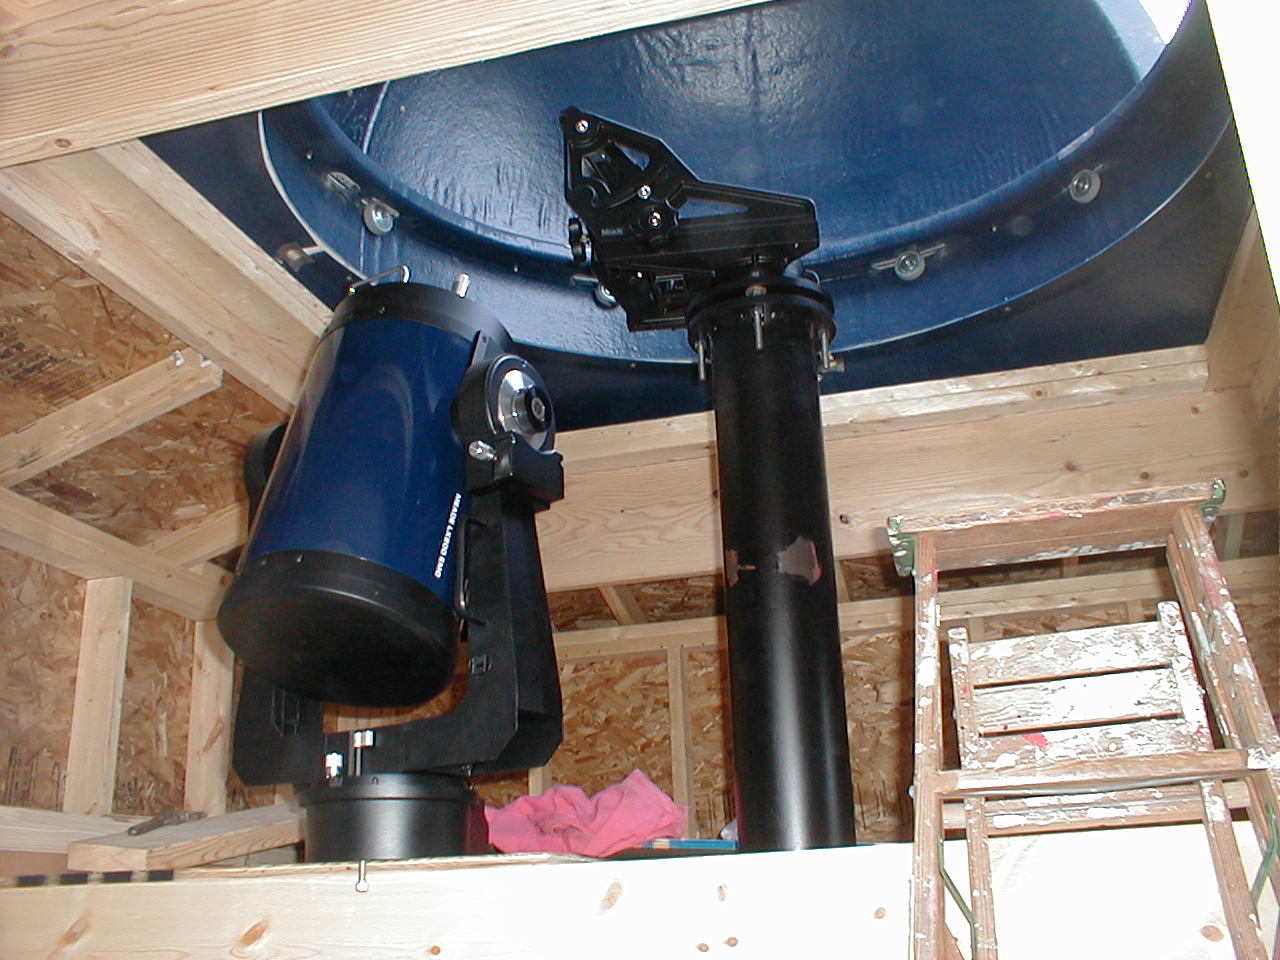
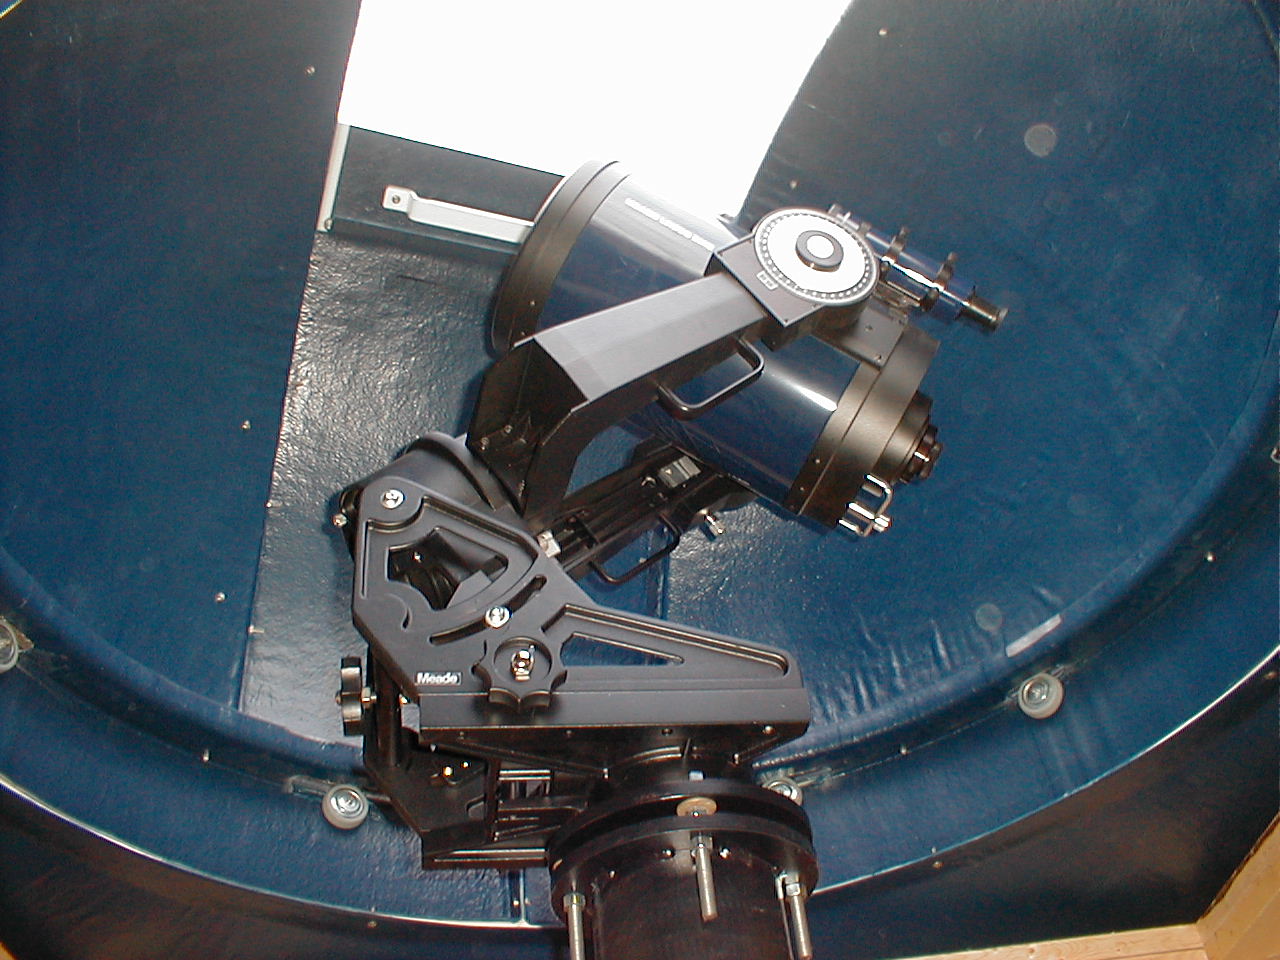
The LX200 was temporarily attached to the Super Wedge to finally see what the many months were leading up to. It was a moment that only pictures could explain.
Finish work involved filling the hollow pier with sand to dampen vibrations. The raised floor was completed soon after as were the north side stairs leading up to the platform.
My wife had one finishing touch. A small sign with the Latin words "Carpe Caela" which we think means "Seize the heavens!".
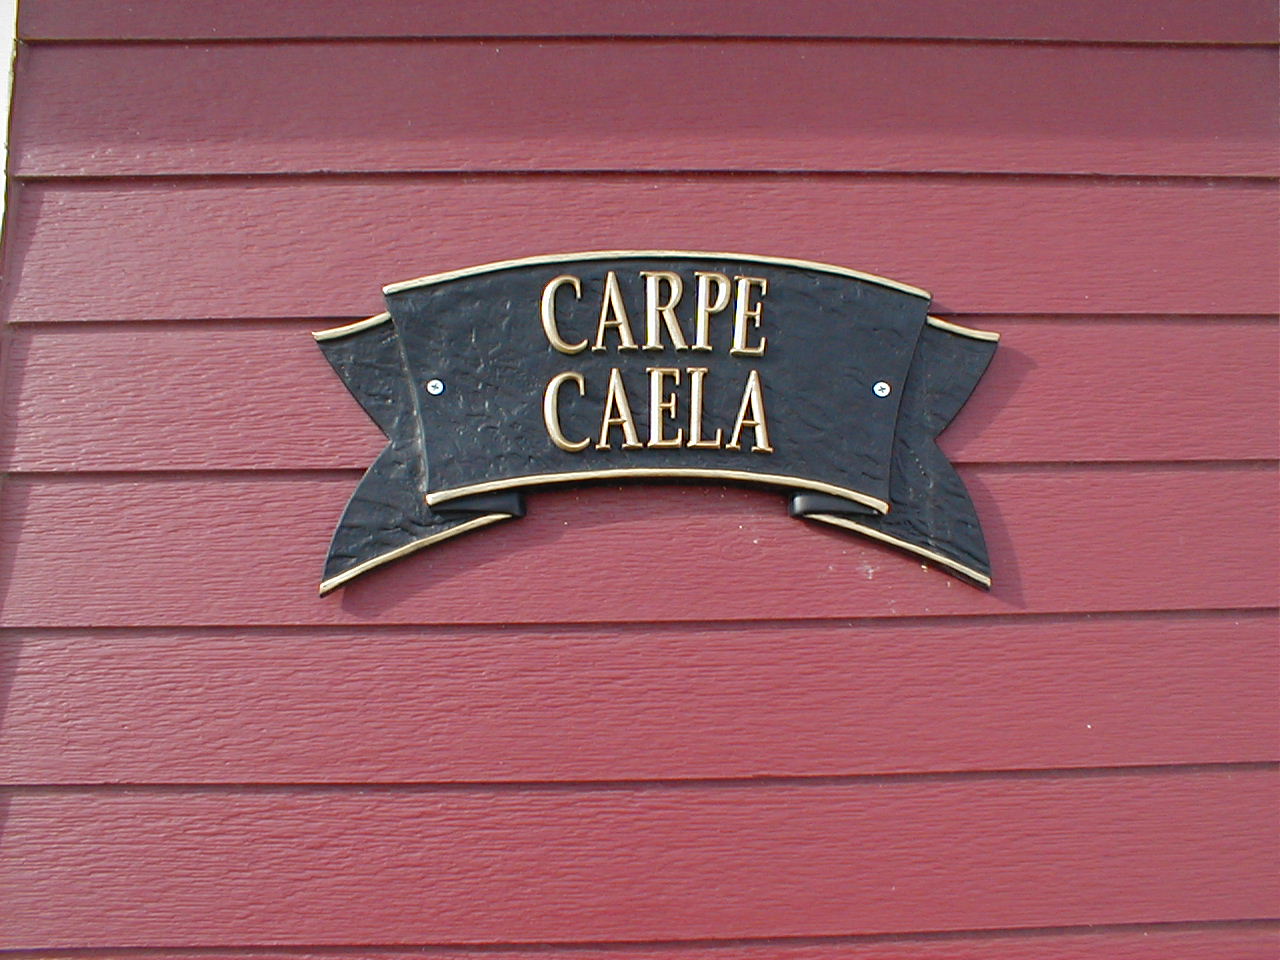
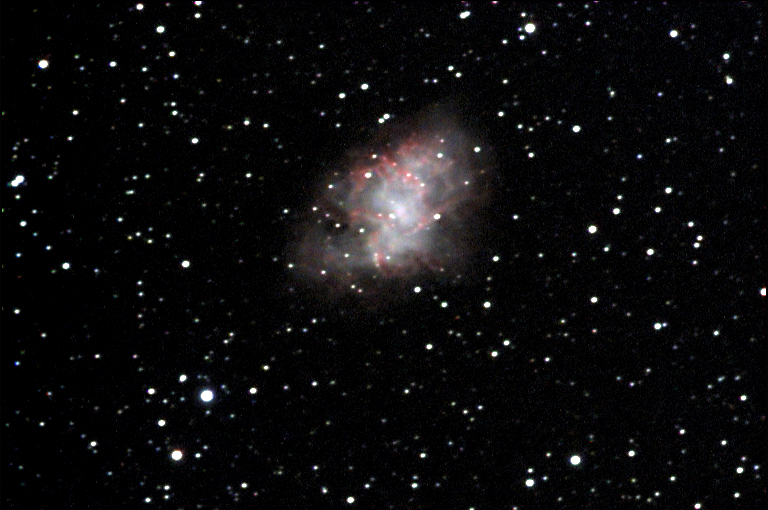
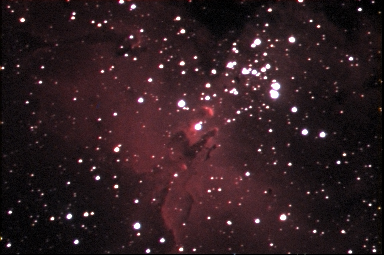
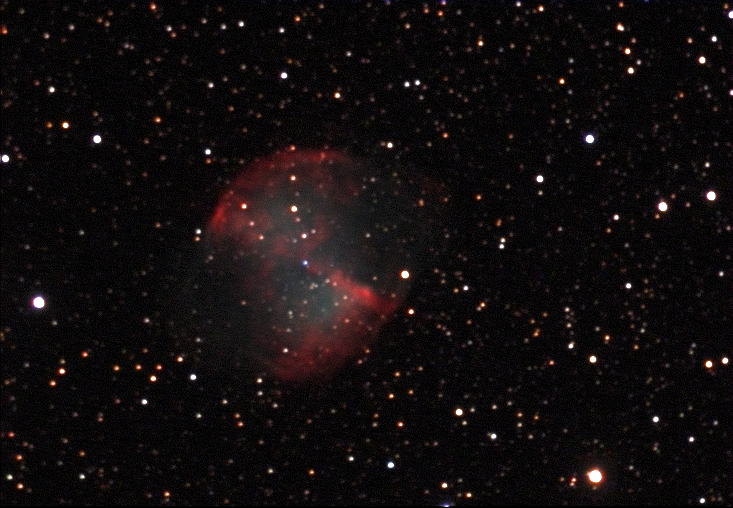
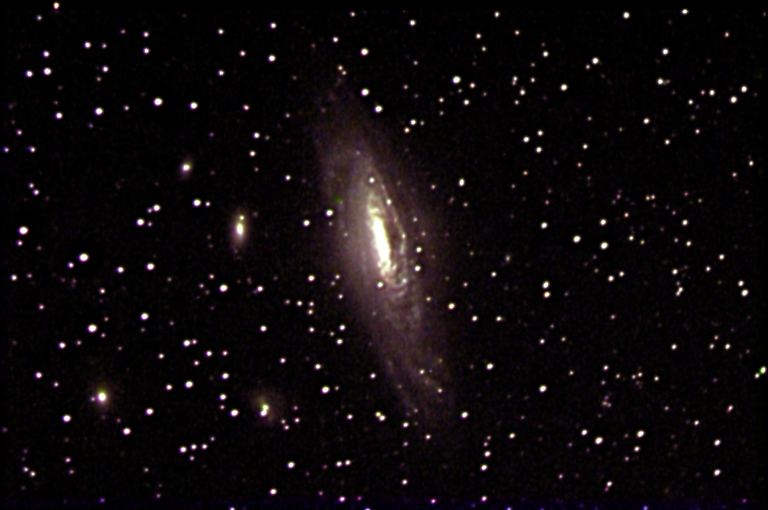
Right or wrong we know what we meant. The following spring I took up CCD imaging and the observatory is performing fantastic!